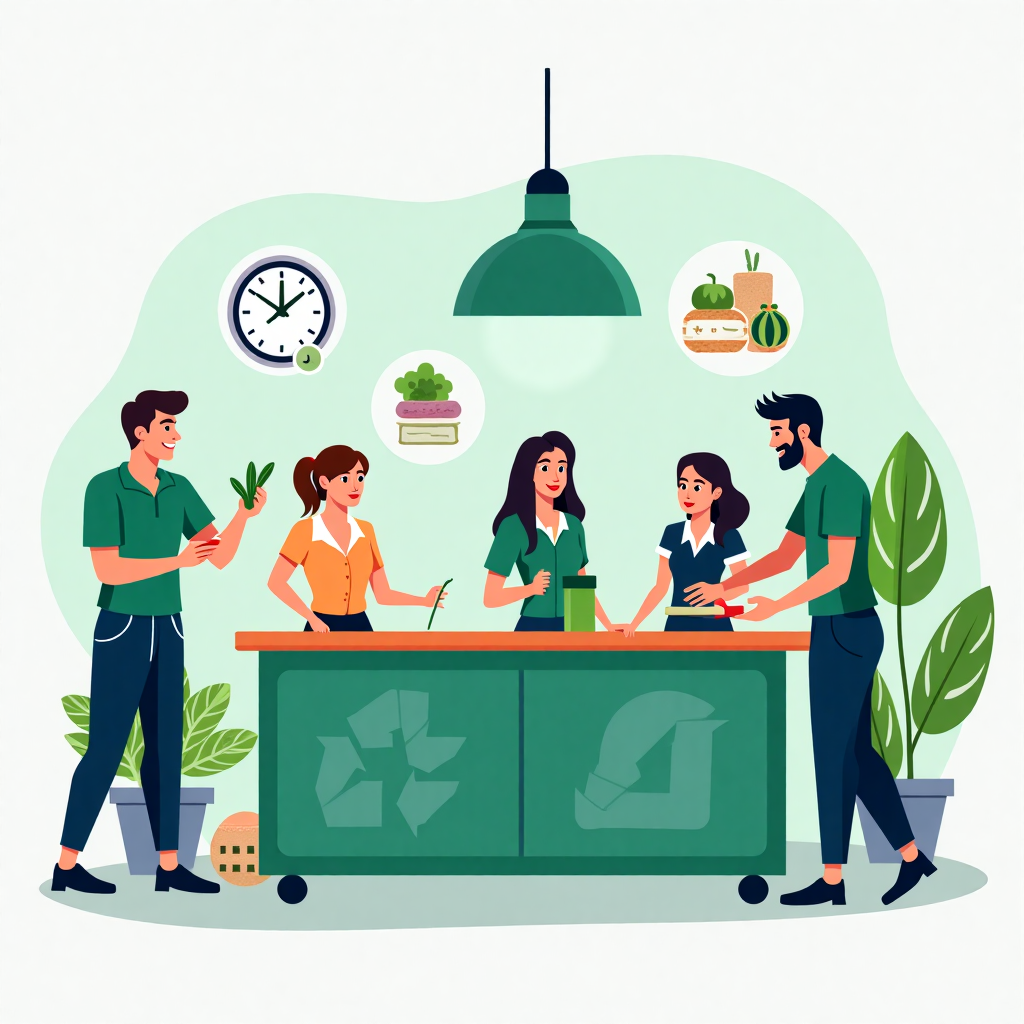

Creating an Efficient Indoor Recycling Setup: A Comprehensive Guide
Recycling has become a cornerstone of modern environmental consciousness, and for many households and businesses, it’s no longer a choice but a necessity. However, setting up an effective recycling system indoors can be a challenge, especially when space is limited or when you want to ensure that the process is as seamless and user-friendly as possible. In this article, we’ll explore how to create a practical, efficient indoor recycling setup that not only helps the environment but also fits seamlessly into your daily routine. Whether you’re a homeowner, a renter, or a business owner, these tips will guide you toward a more sustainable lifestyle.
Why Indoor Recycling Matters
Indoor recycling is more than just a trend; it’s a necessity for reducing waste and minimizing environmental impact. When done correctly, it can save space, reduce clutter, and make the recycling process more convenient for everyone in your household or workplace. But why is indoor recycling so important?
- Environmental Benefits: Recycling helps reduce the amount of waste sent to landfills, which in turn decreases greenhouse gas emissions and conserves natural resources. By recycling indoors, you can ensure that materials are properly sorted and ready for collection, making the entire process more efficient.
- Space Efficiency: An indoor recycling setup allows you to manage waste without dedicating large outdoor areas to storage. This is particularly useful for urban dwellers or those with limited outdoor space.
- Convenience: When recycling bins are easily accessible indoors, it’s more likely that people will use them consistently. This convenience can lead to higher participation rates and better overall recycling habits.
By implementing an indoor recycling system, you’re not only contributing to a greener planet but also creating a more organized and sustainable living or working environment. Let’s dive into how to set up your own indoor recycling setup.
Step-by-Step Guide to Setting Up an Indoor Recycling System
1. Assess Your Space
The first step in creating an indoor recycling setup is to assess the space you have available. Recycling bins can take up valuable floor space, so it’s important to choose a location that’s both convenient and out of the way. Consider placing recycling stations in high-traffic areas like the kitchen, bathroom, or near the entrance of your home or office. These areas are where waste is most likely to be generated, making it easier for everyone to participate.
If you’re short on space, wall-mounted recycling bins or compact under-the-sink solutions can be effective. For larger households or offices, you might need multiple stations throughout the building. The key is to balance accessibility with space efficiency, ensuring that recycling is easy but doesn’t disrupt the flow of your daily activities.
2. Choose the Right Containers
Selecting the right containers is crucial for an effective indoor recycling setup. You want bins that are durable, easy to clean, and clearly labeled. Here are some tips for choosing containers:
- Material: Opt for containers made from lightweight, durable materials like plastic or metal. Plastic bins are often more affordable and easier to clean, while metal bins offer a sleek, long-lasting option.
- Size: Consider the volume of waste your household or office generates. If you produce a lot of recyclables, larger bins might be necessary. However, if space is limited, smaller, stackable bins could work better.
- Design: Look for bins with separate compartments or clearly marked sections for different types of recyclables. This will make sorting easier and reduce confusion among users.
- Location: Place bins in areas where they’re most needed, such as near the kitchen sink for food waste or in the living room for paper and cardboard.
Investing in high-quality containers can make a significant difference in the success of your indoor recycling setup. They should be easy to use, maintain, and integrate into your existing decor.
3. Labeling and Organization
One of the biggest challenges in recycling is ensuring that materials are properly sorted. To address this, clear labeling and organization are essential. Use color-coded labels or icons to indicate what goes into each bin. For example:
- Blue Bin: Paper, cardboard, and other dry recyclables.
- Green Bin: Organic waste like food scraps and yard trimmings.
- Yellow Bin: Plastics, cans, and other non-paper recyclables.
- Red Bin: Non-recyclable waste or items that need special disposal.
Consider using bins with lids to keep odors and pests at bay, especially for organic waste. Additionally, place bins in a way that encourages proper sorting. For instance, if you have a bin for glass bottles, make sure it’s easily accessible and clearly marked so that family members or coworkers know where to place them.
Types of Indoor Recycling Systems
1. Basic Recycling Setup
A basic indoor recycling setup is ideal for small households or offices with limited space. This system typically includes three bins:
- Paper Recycling: For newspapers, magazines, cardboard, and paper products.
- Plastic and Cans: For bottles, jars, and aluminum cans.
- Organic Waste: For food scraps, yard waste, and other compostable materials.
These bins can be placed in a corner of the kitchen or near the trash can for easy access. The simplicity of this setup makes it easy to maintain and ensures that everyone in the household or office can participate without confusion.
2. Advanced Recycling Setup
For larger households or businesses, an advanced recycling setup might be more appropriate. This system involves multiple bins for different types of recyclables, including:
- Paper and Cardboard: For all paper products, including mail, newspapers, and boxes.
- Plastics: For bottles, containers, and other plastic items. Make sure to separate by type if your local recycling program requires it.
- Metals: For aluminum cans, steel containers, and other metal items.
- Glass: For bottles, jars, and other glass products.
- Organic Waste: For food scraps, yard waste, and other compostable materials.
- Special Waste: For items like batteries, electronics, and hazardous materials that require special disposal.
This setup might require more space, but it ensures that materials are properly sorted and ready for recycling. You can use a combination of bins and shelves to organize your recycling station efficiently.
3. Compact and Space-Saving Solutions
If space is a concern, there are plenty of compact and space-saving solutions for indoor recycling. Consider using under-the-sink bins or wall-mounted recycling stations. These options are ideal for small kitchens or offices where floor space is limited.
Another space-saving idea is to use a single bin with separate compartments for different materials. This allows you to keep all your recyclables in one place while still maintaining organization. Look for bins with clear labels or removable compartments for easy cleaning and maintenance.
Conclusion
Creating an efficient indoor recycling setup is a simple yet impactful way to reduce waste and promote sustainability. By assessing your space, choosing the right containers, and organizing your system effectively, you can make recycling a seamless part of your daily routine. Whether you opt for a basic setup or a more advanced system, the key is to ensure that recycling is convenient, organized, and well-labeled for everyone to use.
Remember, every small effort counts when it comes to recycling. By setting up an indoor recycling system, you’re not only helping the environment but also encouraging others to adopt sustainable habits. Start small, stay consistent, and watch your recycling efforts make a big difference over time.